
A slip can change how a senior dog feels about a room they have crossed for years. They may stop at the doorway, stretch forward without stepping, cling to a person, or choose a longer route around the floor. The goal is not to make the dog “get over it.” It is to restore a sense of safety while checking whether pain or a new mobility problem contributed to the slip.
Direct answer
If a senior dog becomes hesitant after slipping on hardwood, first make the area safe, let the dog choose whether to approach, and reward small voluntary steps on a secure surface. Do not pull, push, or lure the dog across a slippery patch. If the slip was followed by limping, yelping, weakness, repeated falls, or a sudden change in movement, contact your veterinarian promptly.
💡 Cooper analogy: Imagine a familiar hallway suddenly feels like an icy bridge. Confidence returns when the crossing feels predictable and there is a safe place to pause—not when someone rushes you across it.
1. Check comfort before calling it fear
A dog who hesitates may be worried about slipping again, but reluctance can also be a sign of pain, weakness, vision changes, or difficulty getting up. Watch for changes beyond the floor: reluctance to rise, a shortened stride, favoring one leg, licking a paw, panting at rest, or avoiding stairs they previously managed. Do not diagnose the cause from behavior alone. If the change is new, persistent, or worsening, ask your veterinarian to assess it.
2. Make the first step easy
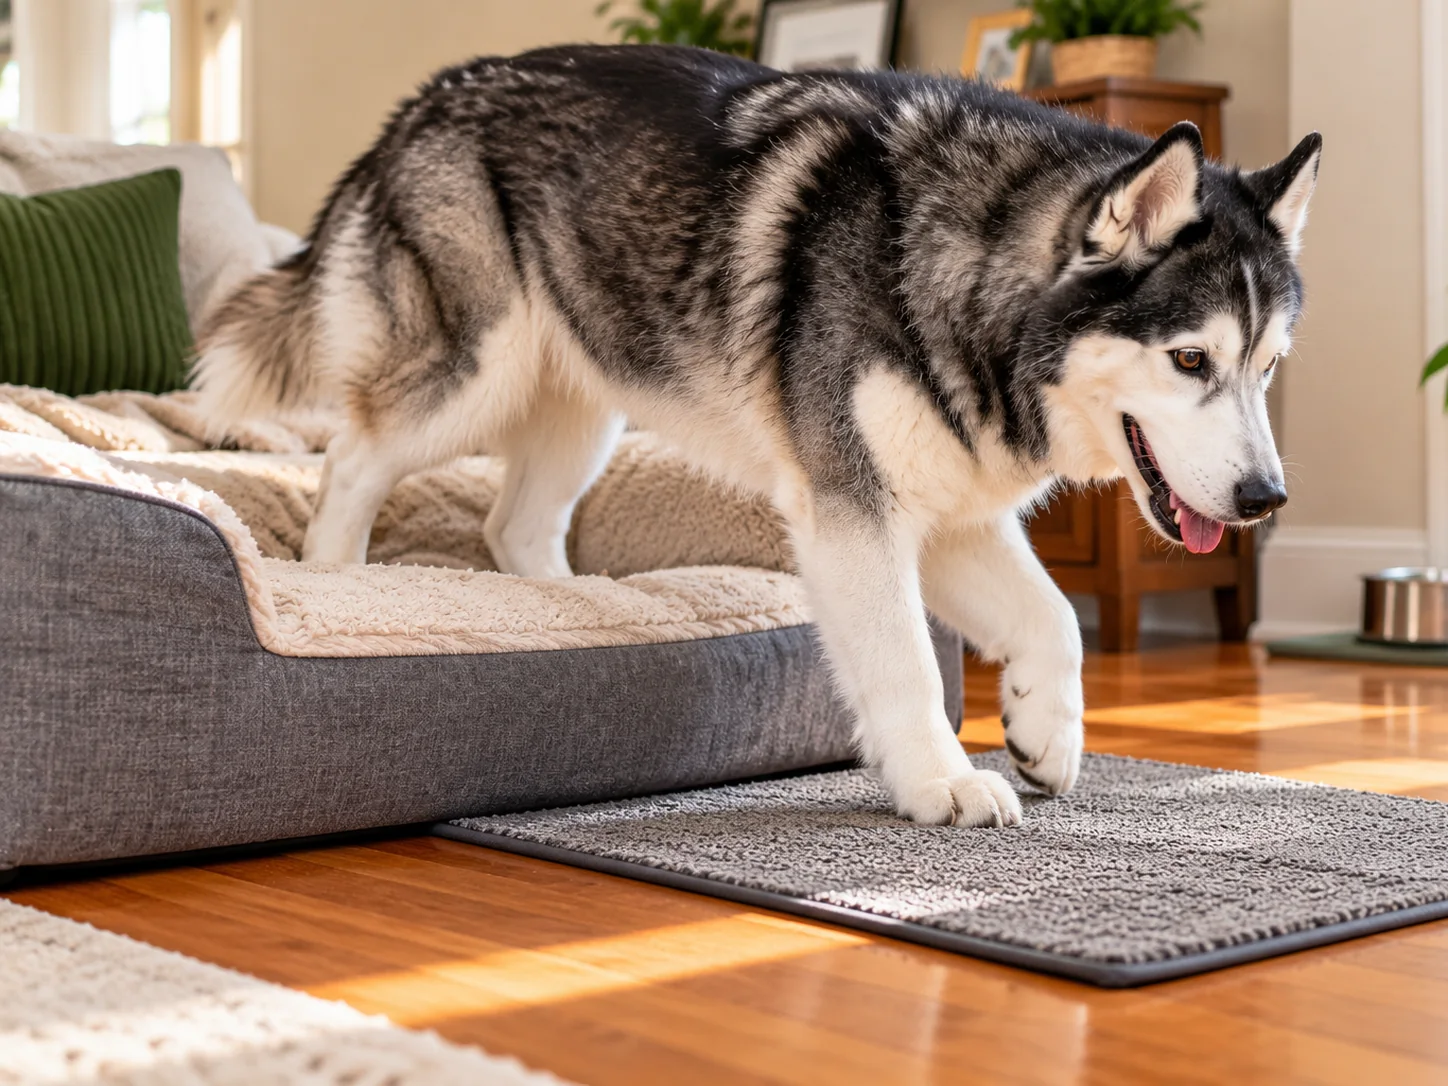
Choose a quiet time and a route with secure footing. Put a flat, non-slip runner or mat where the dog already feels comfortable, with no curled edges or gaps to step over. Start with the dog fully on the grippy surface; do not place a treat across the bare floor to tempt them into a frightening crossing. Keep the route short and leave space to turn around.
3. Let your dog set the pace
Stand nearby, turn your body slightly sideways, and give the dog room. Reward looking toward the route, sniffing the mat, placing one paw on it, or taking a voluntary step. End while the dog is still comfortable. Several brief, calm opportunities are better than one long session that ends in panic. If the dog backs away, allow it; that is information, not disobedience.
4. Avoid pressure that can make hesitation worse
- Do not drag the dog by the collar or leash across the slippery area.
- Do not corner the dog between furniture or people.
- Do not repeatedly test the same frightening spot to “prove” they can do it.
- Do not assume socks or boots will solve every problem; unfamiliar gear can feel strange and may change how a dog places their paws.
5. Make the whole experience predictable
Keep furniture, water bowls, and resting places in consistent positions while confidence returns. Make sure the dog can reach the bed, water, and exit without needing a sudden turn or a jump. Use gates or temporary barriers to block especially slick areas when you cannot supervise. If a runner moves, bunches up, or slides when you press on it with your foot, secure it or choose another solution.
6. Introduce traction gear slowly
If you decide to try socks or boots, introduce them on a comfortable, non-slip surface first. Let your dog sniff the item; reward calm investigation; then try a short supervised wear period. Check for rubbing, twisting, dampness, or a change in gait. Remove the item if your dog seems distressed or moves less naturally. Paw products are options to evaluate, not a substitute for a secure route or veterinary assessment.
7. Keep a simple confidence log
For a few days, note where hesitation occurs, what the floor and lighting are like, whether the dog had just stood up, and what helped. Record voluntary steps and recovery time rather than counting how many times you can get the dog across the room. This can help you notice patterns and gives your veterinarian useful context if the problem persists.
When to call your veterinarian
Seek veterinary guidance if the slip was followed by pain, limping, swelling, a reluctance to bear weight, unusual weakness, repeated slipping, or a sudden change in behavior. Urgent signs such as inability to stand, severe pain, collapse, or rapidly worsening weakness need prompt emergency care. A confidence-building routine should never delay assessment of a possible injury.
Where product options fit
The products below are examples to compare—not a claim that every senior dog needs all three. Socks may provide surface grip for some dogs; rubber boots may be useful for paw protection in certain settings; and keeping nails at a comfortable, veterinarian- or groomer-guided length can support normal paw contact. Check the exact size and instructions, introduce changes one at a time, and stop if movement becomes less comfortable.
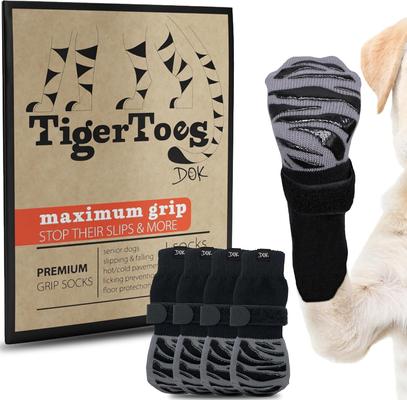 #1DOK TigerToes Anti-Slip Senior Dog SocksGrip-focused socks designed for senior dogs; measure paw size carefully and supervise the first trials.View product ↗
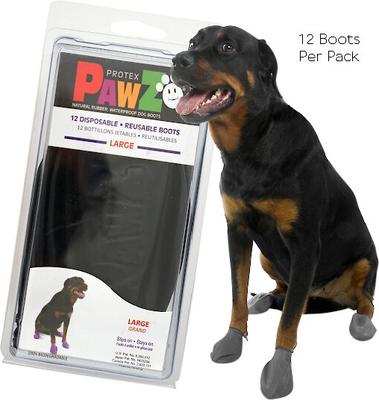 #2Pawz Waterproof Dog BootsFlexible natural-rubber boots that may suit dogs needing paw protection; check fit and watch for discomfort or altered gait.View product ↗
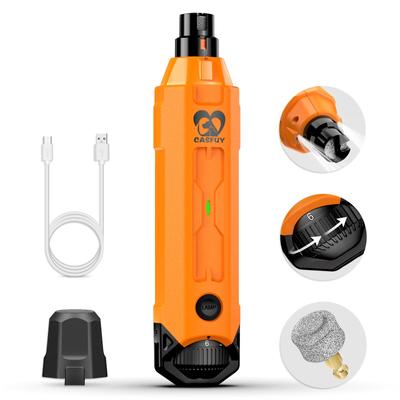 #3Casfuy Upgraded Quiet 6-Speed Nail GrinderA rechargeable nail grinder with six speeds and two LED lights; introduce it gradually and trim only within your comfort level.View product ↗
A related guide for the room itself
Once your dog is ready to move again, use the separate <a href="/blog/senior-dog-slipping-on-hardwood-floors/">route-first hardwood traction plan</a> to audit bed exits, turns, thresholds, and destination areas. This article focuses on rebuilding confidence after a slip; that guide focuses on the physical route.
The takeaway
A senior dog’s hesitation after a slip deserves patience, practical safety changes, and attention to possible pain. Make the next step easy, let the dog choose the pace, and measure progress by relaxed, voluntary movement—not by how quickly you can cross the floor.